
Container Gardens
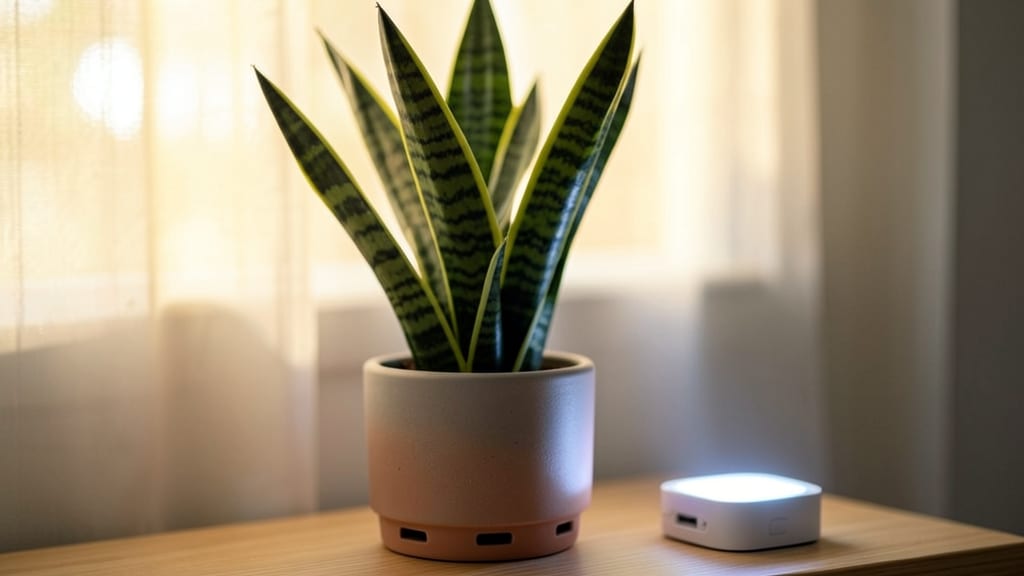
An indoor planter with light turns your windowsill into a year-round herb garden—no matter how little sunlight your space gets. 🌿 I’ve tested these setups for three winters straight, and the difference between a sad, leggy basil and a bushy, fragrant plant comes down to the right light.
The best systems combine stylish planters with built-in LED grow lights or easy-to-install clips, so you get both function and decor.
These planters aren’t just about survival—they’re designed to look intentional. Think sleek ceramic pots with hidden grow lights, hanging macramé planters with battery-powered LEDs, or even repurposed mason jars with clip-on bulbs.
The key is matching the light spectrum (full-spectrum LEDs work best) to what your herbs need, while keeping the setup unobtrusive. My favorite combo? A self-watering planter with a built-in light—less maintenance, more greens.
By mid-March, you’ll be harvesting fresh basil, cilantro, and parsley that taste better than anything from the store. The light keeps leaves vibrant and compact, and the planter’s design blends into your space instead of looking like a science experiment.
Plus, you can move the whole setup to follow the sun’s weak winter rays or tuck it into a corner when it’s not needed.
Perfect for tiny apartments, dim offices, or even kitchen counters where sunlight is scarce. Whether you buy a pre-made planter or DIY with a thrifted pot and a grow light, the result is the same: lush, productive herbs that thrive when others fail.
Here’s how to pick the right setup for your space.
📚 In This Guide
- What you need
- Instructions
- Tips and common mistakes
- Wrapping up and next steps
What you need
- ● Indoor planter or container: 6–12 inches deep (for herbs like basil, parsley, or mint). Choose one with drainage holes or DIY holes if needed.
- ● Grow light: Full-spectrum LED (10–20W) or a compact fluorescent bulb (CFL) rated for plants. Look for 12–16 hours of light per day coverage.
- ● Potting mix: Well-draining, organic blend (avoid garden soil—it compacts!). A 5–10 quart bag is perfect for small setups.
- ● Herb seedlings or seeds: Start with easy-to-grow herbs like basil, chives, or thyme. Seedlings save time, but seeds add fun!
- ● Watering can or spray bottle: A gentle spray keeps soil moist without overwatering.
- ○ Timer (optional but helpful): For automating your grow light (12–16 hours/day mimics sunlight).
- ● Self-watering planter: Reduces maintenance—ideal for busy plant parents!
- ● Humidity tray: A shallow tray with pebbles and water adds moisture for tropical herbs like cilantro.
- ● Plant labels: Mark varieties to track growth (or just flex on your friends 😉).
- ● Fertilizer: Organic liquid fertilizer (diluted to half-strength) every 4–6 weeks.
- ● Decorative elements: Paint, mosaic tiles, or a cute saucer to match your vibe!
Step-by-step instructions for setting up an indoor planter with light
Here’s how to create a thriving indoor herb garden that stays lush year-round with the right setup.
🪴 Step 1: Choose the Right Planter and Light Source
Start with a 6-8 inch deep container for each herb—this gives roots room to grow without crowding. I like terra cotta pots because they breathe, but plastic works too if you drill drainage holes. For light, a full-spectrum LED grow light is your best bet. These mimic sunlight and keep herbs thriving indoors. Place the light 2-4 inches above the plants—closer for seedlings, farther as they mature.
If you’re using a natural light source, position your planter near a south-facing window where it gets at least 6 hours of sunlight daily. Herbs like basil and parsley need plenty of light, so avoid north-facing spots unless you’re growing shade-tolerant varieties like mint or chives. Test your light setup by watching how the plants respond—if they stretch toward the light or look pale, they need more intensity.
🌱 Step 2: Prepare the Soil and Plant Your Herbs
Fill your chosen containers with well-draining potting mix—never garden soil, as it compacts and suffocates roots. I mix in a handful of perlite or vermiculite to keep things airy. Moisten the soil until it’s damp but not soggy, then let it sit for 10 minutes to settle. This ensures roots can spread without waterlogging.
Plant your herbs 1-2 inches apart, depending on the variety. Basil and thyme need a little more space, while parsley and chives can handle closer planting. Gently press the soil around the stems to secure them, but don’t pack it down too tightly. Water lightly after planting to help the soil settle and encourage root growth. You’ll know you’ve done it right when the soil looks evenly moist but not muddy.
☀️ Step 3: Set Up and Maintain the Light Schedule
Herbs thrive on 14-16 hours of light daily, so if you’re using a grow light, set a timer for 12-14 hours per day. Position the light 2-4 inches above the plants and adjust as they grow. If you notice leggy stems or pale leaves, the light is too far away—move it closer. For natural light, rotate the planter a quarter turn every few days to prevent herbs from leaning toward the window.
Watch for signs of stress: yellowing leaves mean too much water, while brown tips often signal dry air. Herbs like humidity, so mist them occasionally or place the planter on a tray of pebbles filled with water to increase moisture in the air. You’ll see the difference in just a few days—lush, vibrant growth instead of wilted stems.
💧 Step 4: Water and Care for Your Indoor Herbs
Water your herbs when the top inch of soil feels dry to the touch. Overwatering is the biggest mistake—herbs hate soggy roots. I use a spray bottle for delicate leaves like basil and a small watering can for heartier varieties. Water at the base to avoid wetting the foliage, which can lead to fungal issues. Empty any drainage tray after watering to prevent root rot.
Fertilize lightly every 4-6 weeks with a balanced, water-soluble fertilizer diluted to half strength. Too much fertilizer burns roots, so less is more. Prune regularly by snipping leaves just above a set of leaves to encourage bushier growth. You’ll know you’re doing it right when you’re harvesting fresh herbs in just a few weeks—nothing beats the taste of homegrown basil or thyme!
Tips & tricks for perfect indoor herb gardens
These game-changing tips will help you grow thriving herbs indoors—no green thumb required!
Light Distance Matters: The 2-4 inch distance for your grow light isn't arbitrary—it's the sweet spot for preventing leggy growth. For seedlings, start at 2 inches, then gradually move the light up as your herbs grow. I've learned this the hard way: too close causes scorching, too far leads to weak stems. Watch for those pale leaves—it's your cue to adjust!
Soil Settlement Secret: That 10-minute settling time after moistening your soil is crucial. It lets the potting mix compact just enough to support roots without becoming waterlogged. I mix in a handful of perlite for extra drainage, which helps prevent that dreaded soggy soil smell. Pro tip: Gently press the soil around your herbs' stems after planting to secure them without compacting too tightly.
Light Rotation Strategy: The quarter-turn rotation every few days might seem minor, but it's what keeps your herbs growing straight and strong. This prevents them from leaning toward the light source, which creates those awkward, stretched-out plants. I set a reminder on my phone—it only takes 30 seconds and makes a huge difference in plant health.
Humidity Hack: Herbs love humidity, and you don't need a fancy humidifier. Place your planter on a tray filled with pebbles and water—just make sure the bottom of the pot doesn't sit directly in water. This creates a natural humid microclimate around your plants. I've seen herbs go from wilting to thriving in just a few days using this simple trick!
Pro Tips for Indoor Planter With Light
- These game-changing tips will help you grow thriving herbs indoors—no green thumb required!
- Light Distance Matters: The 2-4 inch distance for your grow light isn't arbitrary—it's the sweet spot for preventing ...
- Soil Settlement Secret: That 10-minute settling time after moistening your soil is crucial. It lets the potting mix c...
Frequently asked questions
Got questions about your indoor planter with light? You’re not alone! Here are some of the most common concerns—and their simple solutions—to keep your herbs thriving year-round.
How often should I turn or rotate my indoor planter with light?
Rotate your planter every 5–7 days to ensure even light exposure. Since grow lights emit directional light, plants can stretch toward one side (called "etiolation"). A quick 180° turn keeps them balanced and bushy. Pro tip: Set a reminder on your phone to avoid forgetting!
Can I use any LED bulb in my indoor planter?
Nope! Only full-spectrum LED grow lights (10,000–20,000K color temperature) mimic sunlight effectively. Regular LEDs lack the red/blue wavelengths herbs need. Check the wattage too—most indoor planters use 10–20W bulbs for small setups.
What if my herbs look yellow or wilted?
Yellow leaves often mean overwatering or nutrient deficiency, while wilting signals underwatering or root stress. First, check the soil moisture—it should feel damp but not soggy. Adjust watering frequency and ensure proper drainage. If yellowing persists, try a balanced liquid fertilizer (like 10-10-10) every 4–6 weeks.
How long until I see results (e.g., fresh herbs)?
With consistent light (12–16 hours/day) and care, you’ll spot new growth in 2–4 weeks. Harvestable leaves (like basil or mint) typically appear in 6–8 weeks. Patience is key—herbs grow slower indoors than outdoors!
Are there cheaper alternatives to pre-made indoor planters with lights?
DIY options include:
- Repurposed containers (e.g., mason jars, colanders) + a clip-on LED grow light (~$15–$30).
- Under-cabinet lights for kitchen windowsills (if you have natural light).
- Budget grow lights (like the Mars Hydro TS 3000) paired with a shallow tray.
Wrapping up and next steps
Transforming your kitchen or balcony into a lush herb garden has never been easier—or more rewarding!
With an indoor planter with light, you can enjoy fresh basil, mint, and parsley year-round, regardless of the weather outside. 🌱 The key is consistency: choose the right setup, monitor your plants’ needs, and embrace the joy of homegrown flavors.
Ready to take the next step? Start small—pick one herb to master, then expand your green empire! Whether you’re a seasoned gardener or a curious beginner, your future meals (and Instagram-worthy photos) will thank you. Grow, harvest, and savor! 🌿